
How to Convert a PDF to JPG
Although PDF files are a fantastic way to package a slew of text and image documents together, they often require an external application or plug-in and are unnecessary if you want just a single page or image. If you already have the PDF, you can always just convert it into an image yourself. Something like a JPG would probably work nicely (it’s different from a GIF, you know).
PDF Tips and Tricks
How to edit a PDF
The best PDF editors
How to convert PDF to Word
How to convert PDF to EPub
How to save a webpage as a PDF
To make that transition though, you need to know how to convert a PDF to JPG. If you follow the steps below, it won’t take you long to find out.
Fortunately, there are a number of ways you can do it and in this guide, we’ll walk you through our favorites, step by step, no matter which platform you’re on.
Step 1: Go to Zamzar’s conversion site
There are all sorts of different conversion websites on the internet, but we like Zamzar’s trusty conversion tool, which has a clean interface and avoids annoying ads. The best part of using an online tool is that it can be used from any computer or mobile device, anywhere in the world (and won’t take up space on your computer). The only downside is that they tend to be a little limited in the amount of data you can convert at one time, which makes them difficult to use for larger PDF files. However, it’s incredibly straightforward.
Navigate to Zamzar’s PDF to JPG conversion tool in your web browser and follow the on-screen instructions.
Step 2: Select your PDF

Click the “Choose Files…” button and use the pop-up window to pick the PDF you want to convert from your local system. Select it and then click the “Open” button. Alternatively, you can drag and drop the file from your local system into the browser window and drop it on the conversion tool to have the same effect.
Step 3: Choose your output format
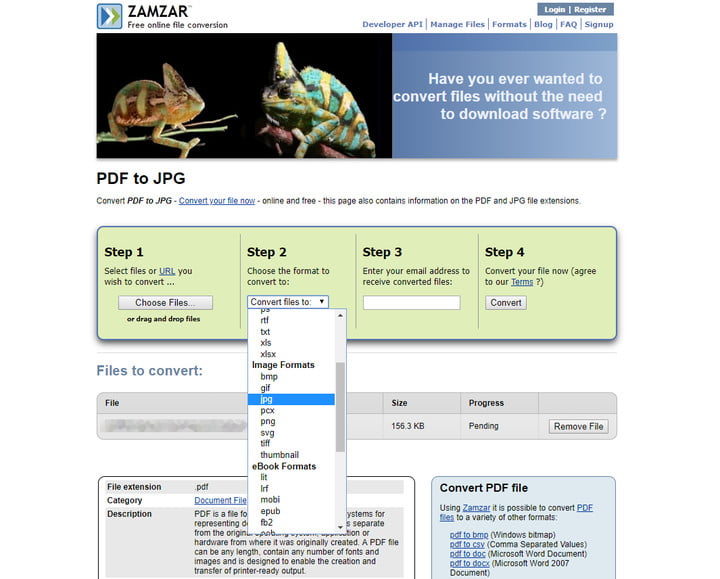
Click the “Convert files to:” button to select the output format you want. In this case we want to select JPG, which you’ll find under the “Image formats” heading. If you reach “Ebook formats,” you’ve scrolled too far!
Step 4: Choose where you want the JPG sent
While alternative web tools like Pixlr might output the converted file straight away, Zamzar prefers to email it to you. In order to do that though, it needs to know where to send it! In the “Step 3” box, type in your email address.
Double check it too, as there is no confirmation email input to make sure it’s correct. If you’d rather not share your email address, you could always use a disposable email.
Step 5: Start the conversion!
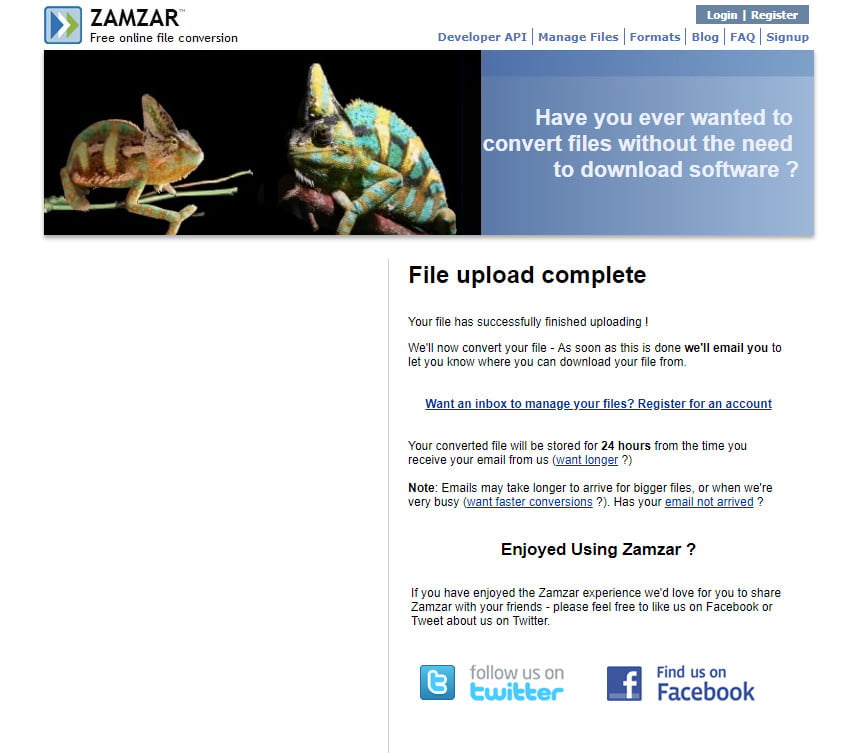
When you’re ready to begin, click the “Convert” button to begin the conversion process. It will take a couple of seconds to upload the file and a few minutes more to complete the conversion, but when it’s finished, a link will be emailed to you from which you can download your files. If you don’t receive the link within a few minutes of starting the conversion though, check Zamzar’s FAQ page to make sure that the emails aren’t being accidentally blocked.
Zamzar can do pretty much anything to PDFs, so if you want to convert your PDFs to HTML5, BMP files, DOCX, or anything else that your project might require, you can. Just change the “Convert files to:” option.
Windows alternative: PDF to JPEG

PDF to JPEG is a free Windows app that does exactly what its name suggests. It’s minimalist but allows for a welcome amount of control over selecting where images will be saved. If you only have access to Windows 10 and you don’t have any guarantee of internet access for conversion, this is probably your best solution for frequent conversions.
Note: This app will convert every page of the PDF to JPG files, so consider another option if you only need one page converted.
MacOS Alternative: PDF Preview
Out of all the platforms, MacOS offers the easiest and most direct option for converting PDFs innately — in other words, you don’t have to download any extra tools to get the job done. Here’s what to do.
Step 1: Open a PDF in “Preview.” In most cases, PDFs should automatically open in Preview unless you’ve chosen another program for the job. You may have to find your PDF file and “right click” to open in Preview if necessary. Here’s how to right click in MacOS.

Step 2: In the “File” tab, choose the “Open…” selection.
Step 3: Change the name, add tags, choose the export location and, most importantly, set the “Format” to “JPEG.” Select “Save” to finish up. That’s it!
If you only want to save part of the PDF, then head over to “View” and make sure “Thumbnails” is turned on. This allows you to select particular pages via the Thumbnail sidebar.
This process works great for simple conversions. However, you can’t really tweak the PDF in any meaningful way, which could be annoying for more complex projects. If yours falls into that category, we suggest you try the online tools suggested above.